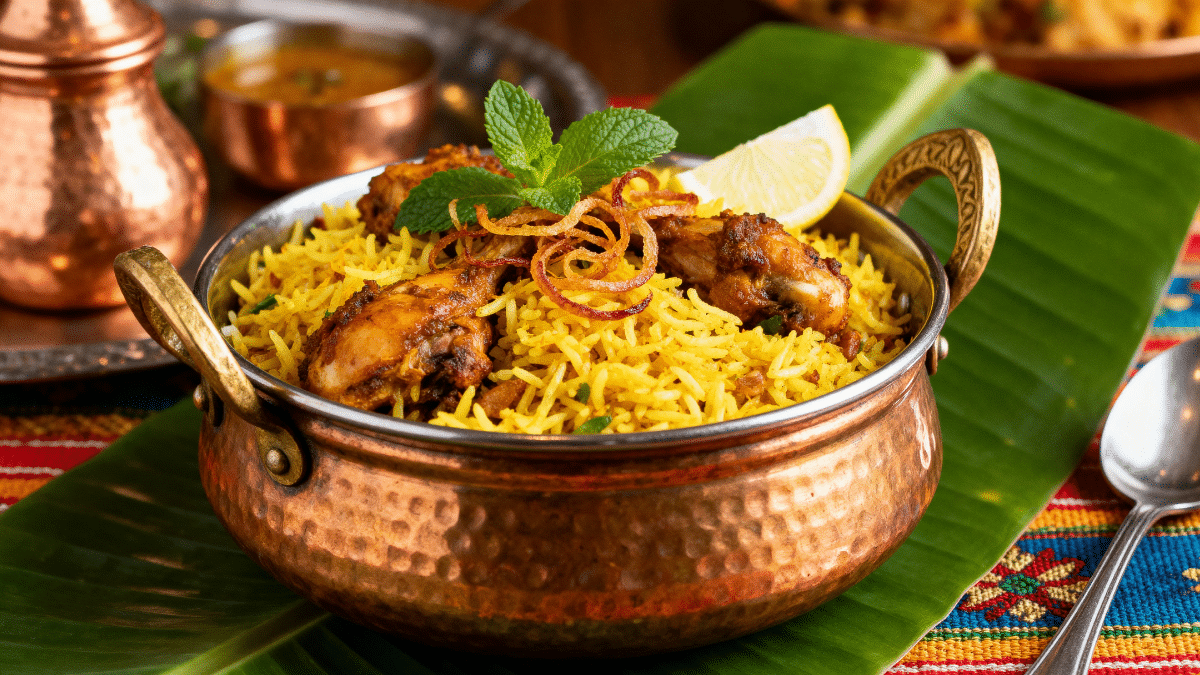
Hyderabadi Vegetable Dum Biryani (Beginner-Friendly, Step-by-Step)
If you are searching for a Hyderabadi Vegetable Dum Biryani recipe that truly works for beginners, this post is for you. This biryani is made by layering spiced vegetables with partially cooked basmati rice, then slow-cooking everything on dum (sealed steam). The result is fluffy rice, perfectly cooked vegetables, and a beautiful Hyderabadi aroma.
I’m explaining every action clearly – what to do, which flame to use, and how to check doneness by look, smell, and texture. Even if this is your first biryani, you can make it confidently.
Engaging Introduction
Hyderabadi Vegetable Dum Biryani is one of those dishes that feels festive even on a regular day. I’ve made this biryani many times in my own kitchen—sometimes for guests, sometimes just because I was craving something comforting yet special. What I love most is how simple ingredients like vegetables, rice, herbs, and spices slowly come together into something incredibly aromatic.
If you’ve ever felt intimidated by dum biryani, trust me—you’re not alone. I used to think it was complicated too. But once I understood the logic behind layering, soaking rice, and slow cooking on dum, everything clicked. This version is especially designed for home cooks and beginners, using easy techniques without losing that authentic Hyderabadi taste.
This biryani doesn’t rely on heavy frying or artificial flavors. The magic comes from patience, good basmati rice, fresh herbs, and gentle dum cooking. When you finally open the lid and that aroma hits you—pure bliss. If you want a reliable veg dum biryani that works every time, you’re in the right place.
5. Jump to Recipe
👉 Scroll down to the step-by-step recipe card below
6. Why You’ll Love This Recipe
-
Authentic Hyderabadi dum flavor without restaurant heaviness
-
Clear steps that even first-time cooks can follow
-
Perfectly fluffy, long-grain rice every time
-
Customizable with your favorite vegetables
-
Naturally aromatic—no artificial flavors needed
1️⃣ Recipe Overview
- Recipe Name: Hyderabadi Vegetable Dum Biryani
- Cuisine: Hyderabadi / Indian
- Difficulty: Beginner
- Cooking Method: Dum (slow steam cooking)
- Prep Time: 25 minutes
- Cook Time: 40 minutes
- Serves: 3–4 people
2️⃣ Ingredients List (Exact Measurements – Beginner Safe)
For Vegetable Marinade / Base
- Mixed vegetables (carrot, beans, potato, peas, cauliflower) – 3 cups (chopped medium)
- Thick curd (yogurt) – ¾ cup
- Ginger-garlic paste – 1½ teaspoons
- Green chilies (slit) – 2
- Red chilli powder – ¾ teaspoon
- Turmeric powder – ¼ teaspoon
- Coriander powder – 1 teaspoon
- Garam masala – ¾ teaspoon
- Biryani masala – 1½ teaspoons
- Lemon juice – 1 tablespoon
- Salt – 1¼ teaspoons
- Fresh mint leaves (chopped) – ½ cup
- Fresh coriander leaves (chopped) – ½ cup
- Oil – 3 tablespoons
For Rice
- Basmati rice – 1½ cups
- Water – 6 cups
- Salt – 1½ teaspoons
- Bay leaf – 1
- Green cardamom – 3
- Cloves – 4
- Cinnamon – 1 inch
- Shah jeera (caraway seeds) – ½ teaspoon
For Layering / Dum
- Saffron – 10 strands
- Warm milk – 3 tablespoons
- Ghee – 2 tablespoons
- Fried onions (birista) – ½ cup
3️⃣ Ratio Rule (Very Important)
- Rice : Water (boiling) → 1 : 4
Use plenty of water to boil rice so grains cook long and separate. We drain it early so it doesn’t turn soft.
4️⃣ Heat / Flame Guide (Beginner Saver)
- Boiling rice: High flame
- Cooking vegetables: Medium flame
- Dum cooking: 5 minutes on medium flame, then 15 minutes on low flame
Low flame during dum prevents burning and lets steam cook the rice and vegetables evenly.
5️⃣ Vessel Selection (Do Not Skip)
- Best vessel: Heavy-bottom kadai, handi, or thick steel pot
- Do not use: Thin aluminium vessels
A heavy pot holds steady heat and stops the biryani from burning at the bottom.
6️⃣ Step-by-Step Cooking (Most Important)
STEP 1: Wash and Soak the Rice
Action: Wash 1½ cups basmati rice 3–4 times until the water looks mostly clear. Soak in fresh water for 30 minutes.
Flame: No flame needed.
Doneness check: After soaking, grains look longer and feel slightly soft when pressed.
STEP 2: Marinate the Vegetables
Action: In a bowl, mix curd, ginger-garlic paste, chilli powder, turmeric, coriander powder, garam masala, biryani masala, lemon juice, oil, and salt. Add vegetables, mint, and coriander. Mix until coated. Rest 20 minutes.
Flame: No flame needed.
Doneness check: Mixture smells fresh and mildly spicy; vegetables look well-coated.
STEP 3: Cook the Rice (70% Done)
Action: Bring 6 cups water to a rolling boil on high flame. Add bay leaf, cardamom, cloves, cinnamon, shah jeera, and salt. Add soaked rice and cook until 70% done. Drain immediately.
Flame: High flame.
Doneness check: Rice grain breaks when pressed, but still has a firm centre (not fully soft).
STEP 4: Cook the Vegetable Base
Action: Heat a heavy pot on medium flame. Add the marinated vegetables, spread evenly, and cook uncovered for 5–6 minutes.
Flame: Medium flame.
Doneness check: You will see slight oil separation on sides and a strong biryani aroma.
STEP 5: Layer the Biryani
Action: Soak saffron in warm milk for 5 minutes. Lower the flame. Add half the rice over vegetables. Sprinkle half fried onions, half ghee, and half saffron milk. Add remaining rice. Top with remaining onions, ghee, and saffron milk.
Flame: Low flame while layering.
Doneness check: Layers should look even; do not mix.
STEP 6: Dum Cooking
Action: Cover the pot tightly (foil + lid if needed). Cook 5 minutes on medium flame, then 15 minutes on low flame. Switch off and rest for 10 minutes.
Flame: Medium → Low.
Doneness check: Strong aroma comes out when you open; rice looks fluffy and separate.
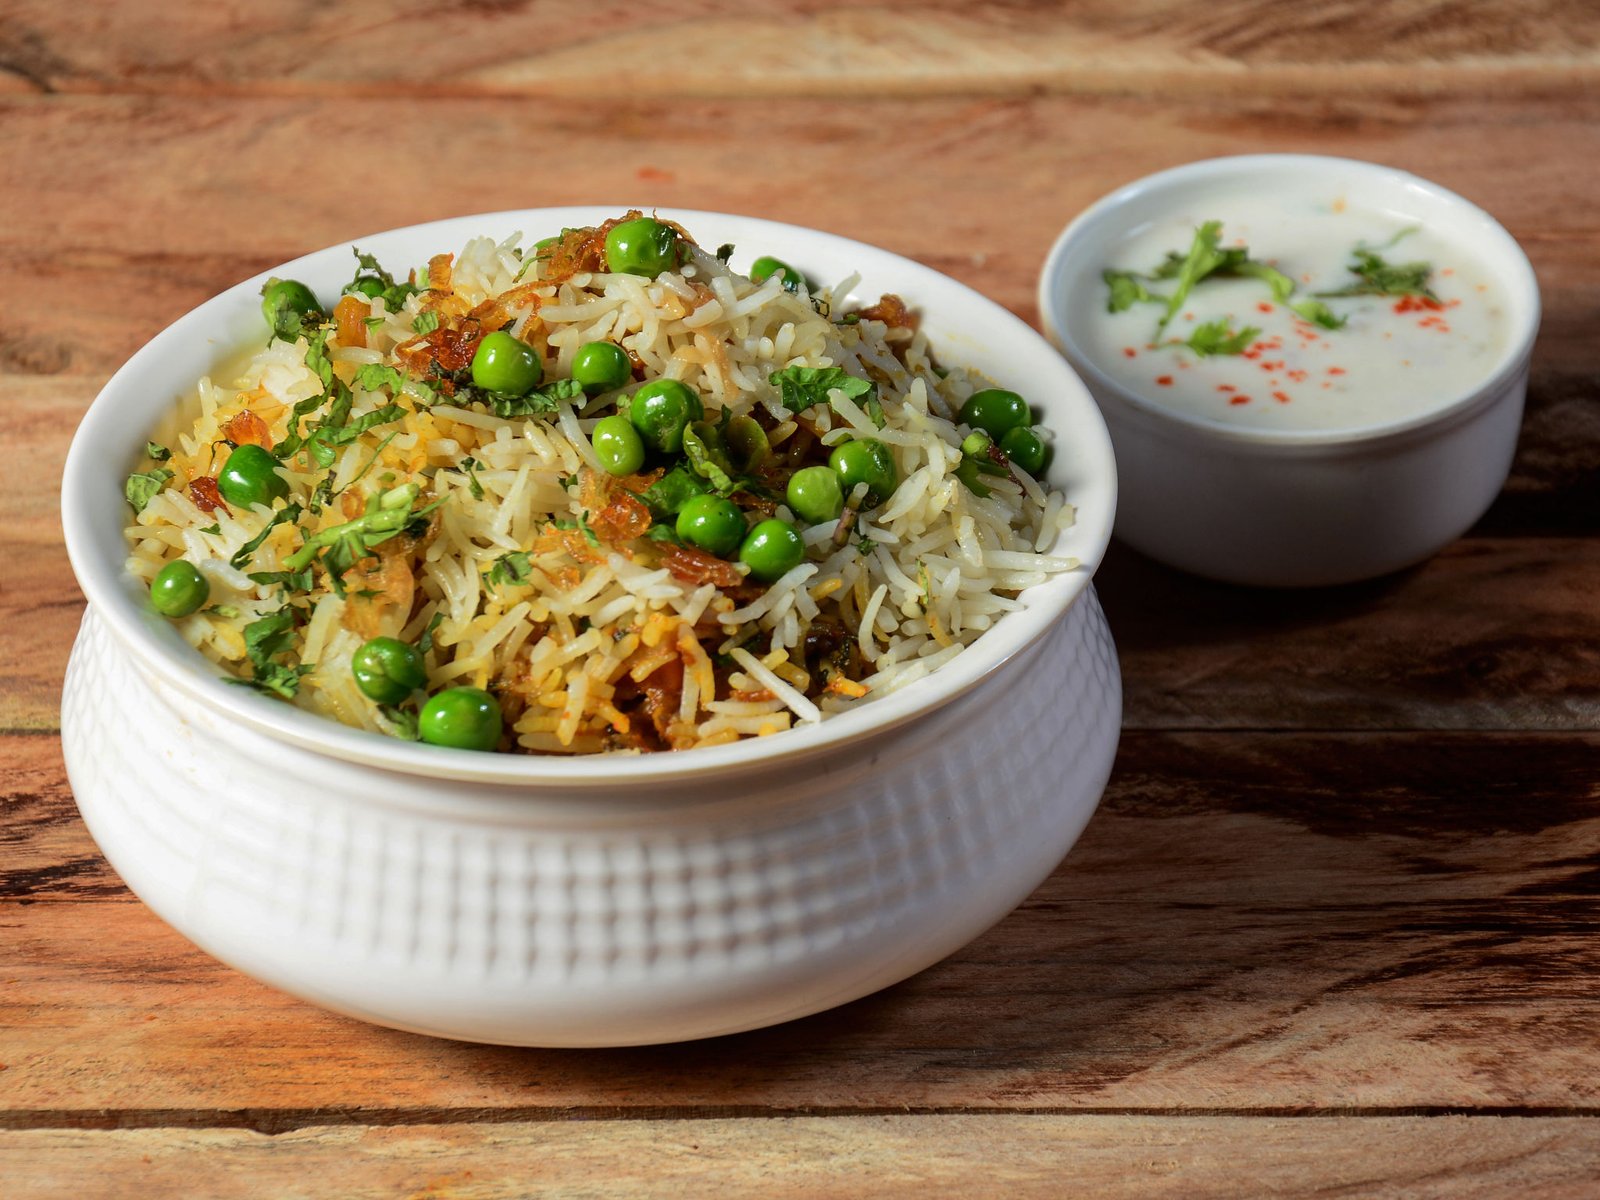
STEP 7: Serve
Action: Gently fluff from the sides using a flat spatula. Serve hot with onion raita or salan.
Flame: Off.
Doneness check: Rice grains should be long and not sticky; vegetables cooked but not mushy.
7️⃣ Salt Control Rule
Salt is added in two places: (1) vegetable marinade and (2) rice boiling water. This keeps each layer lightly seasoned so the final biryani tastes balanced and not salty.
8️⃣ Common Beginner Mistakes
- Overcooking rice: Makes biryani mushy. Drain rice when it is only 70% done.
- High flame on dum: Burns the bottom. Always keep dum on low flame after the first 5 minutes.
- Using a thin vessel: Uneven heat causes sticking. Use a heavy-bottom pot.
- Mixing layers before dum: Breaks rice and makes it sticky. Layer gently and leave it.
- Skipping resting time: Steam needs time to settle. Rest 10 minutes before serving.
9️⃣ If Something Goes Wrong (Fix Block)
- If too dry: Sprinkle 2–3 tbsp warm water on top, cover, and dum for 5 minutes on low flame.
- If overcooked / mushy: Next time drain rice earlier. For now, spread biryani on a wide plate for 10 minutes to release steam.
- If undercooked: Sprinkle 3–4 tbsp warm water, cover, and dum 6–8 minutes on low flame.
- If less salty: Sprinkle a pinch of salt and gently mix only the top layer.
- If too salty: Add a small layer of plain cooked rice, drizzle a little ghee, and mix gently.
🔁 Alternate Methods
- Pressure cooker: Do not use whistle. Dum on very low flame for 12–15 minutes, rest 10 minutes.
- Oven: Cover tightly and bake at 180°C for 25 minutes.
📌 Quick Summary Card
- Soak basmati rice for 30 minutes for longer grains.
- Cook rice only to 70% and drain immediately.
- Cook vegetables briefly on medium flame for aroma.
- Layer rice + veg, seal tightly, and dum on low flame.
- Rest 10 minutes before serving for best texture.
✅ Nutrition Facts (Approx.) — Hyderabadi Vegetable Dum Biryani (Per Serving)
Serving size: 1/4 of recipe (serves 4)
Note: This is an estimate based on typical ingredient values. Your final numbers will change depending on oil/ghee quantity, curd fat %, and the exact vegetables used.
-
Calories: ~420 kcal
-
Carbohydrates: ~68 g
-
Protein: ~9 g
-
Fat: ~12 g
-
Fiber: ~6 g
-
Sugar: ~6 g
-
Sodium: ~780 mg
To make it lighter: reduce ghee to 1 tbsp and use low-fat curd.
To increase protein: add ½ cup cooked chickpeas or paneer cubes (100–150 g).
❓ FAQ – People Also Ask
Q1. Can I make veg dum biryani without curd?
Yes, but curd adds moisture and authentic taste. Coconut milk is a mild alternative.
Q2. Why is my veg biryani soggy?
Rice was overcooked or too much water was used during dum.
Q3. Can I skip saffron?
Yes. It adds aroma and colour, not structure.
Q4. Which rice is best for veg biryani?
Aged basmati rice gives best aroma and grain length.
Q5. Can I make this biryani ahead of time?
Yes. Reheat gently with a little water or ghee.