Learn how to make restaurant-style Chicken Dum Biryani at home with this foolproof Hyderabadi recipe. Discover the secrets of perfect rice, juicy marinated chicken, and slow “dum” cooking for that authentic aroma. Easy for beginners and food lovers alike!
Introduction
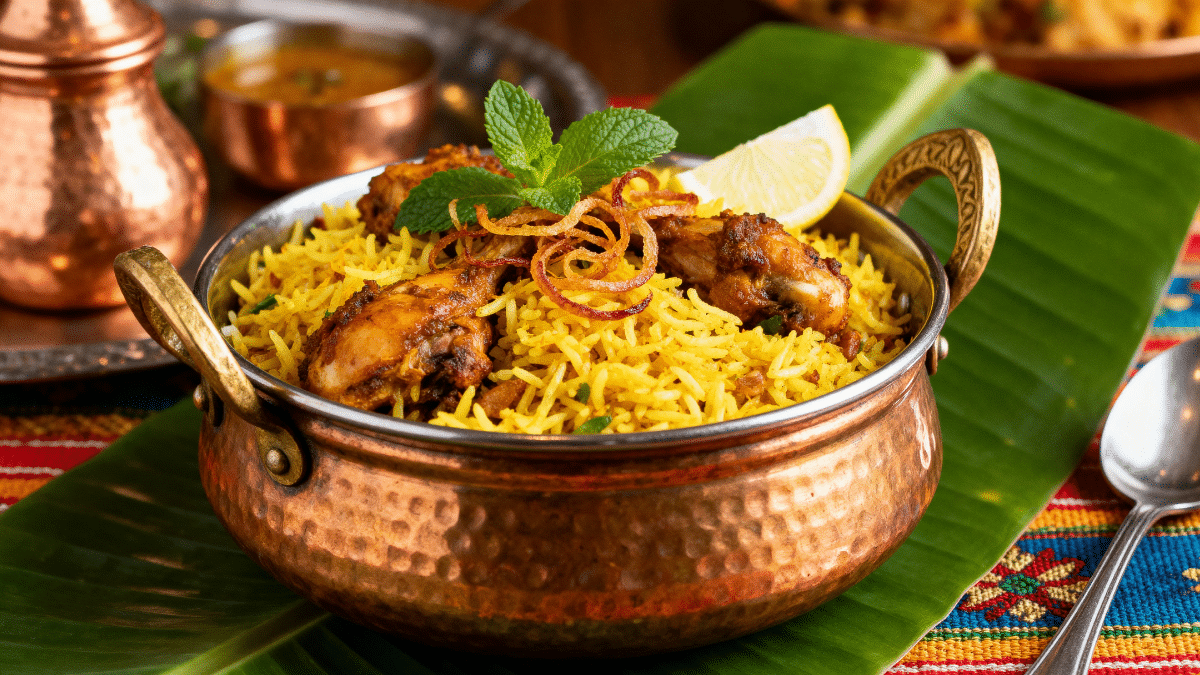
Chicken Dum Biryani can capture hearts all over India. This dish offers more than just a recipe — it provides an experience. The strong smell of basmati rice, the golden saffron colors, the soft chicken steeped in tasty spices — each mouthful shares a tale.
Our Healthy Recipes take on this timeless dish has reached over 1 crore viewers, and many home cooks have made it with success. This guide will help you through each step — from soaking the chicken to stacking the rice and ending with the right dum (steam cook).
If you’re new to cooking, single, or just someone who enjoys good food and wants to make tasty biryani like a restaurant does, this step-by-step recipe is for you.
The Legacy of Chicken Dum Biryani
Chicken Dum Biryani has its origins with the Mughal Nizams of Hyderabad, who mastered this royal meal hundreds of years ago. This dish brings together two key components — seasoned rice and tender chicken — stacked in layers and slow-cooked in a sealed container.
The “Dum” method, which means “to take in its own steam,” creates that rich lasting scent you experience in genuine restaurant-quality biryani.
At its heart, Chicken Dum Biryani honors patience — soaking overnight, cooking , and resting before eating. Each step enhances the taste, and when prepared , the outcome is sheer culinary wonder.
Why This Recipe Succeeds
In contrast to quick versions that sacrifice texture or taste, this biryani follows a time-honored approach with easy-to-follow steps.
- ✅ Aged basmati rice makes fluffy non-sticky grains
- ✅ Yogurt marinade left overnight results in tender chicken
- ✅ Spices strike a balance — neither too strong nor too weak
- ✅ Careful layering with saffron fried onions, and herbs
- ✅ Dum cooking keeps aroma and moisture locked in
Each portion of this biryani has about 825 kcal, including 36g protein, 35g fat, and 87g carbs — ideal for a weekend treat or special occasion.
What You’ll Need to Cook
Serves: 4 people
Prep time: 30 minutes (plus marination time)
Cook time: 1 hour
Total time: 4–8 hours (including marination)
Whole Spices chicken dum biryani
These spices create the smell and heat typical of Hyderabadi biryani:
- 2–3 green cardamoms
- 2 black cardamoms
- 1-inch cinnamon stick
- 3–4 cloves
- 1 bay leaf
- 1 star anise (optional)
- ½ teaspoon shahi jeera (or cumin seeds)
- 6–8 black peppercorns
Ground Spices chicken dum biryani
These add richness and vibrancy:
- 1 teaspoon red chili powder
- ½ teaspoon turmeric powder
- 1 teaspoon coriander powder
- 1 tablespoon biryani masala or garam masala
- Salt to taste
Chicken Marinade chicken dum biryani
- 500 grams bone-in chicken (thighs and drumsticks)
- 1 cup thick curd (yogurt)
- 2 tablespoons ginger-garlic paste
- ¼ cup chopped mint leaves
- ¼ cup chopped coriander
- 1 tablespoon lemon juice
- 2 tablespoons fried onions (birista)
- 1 tablespoon ghee or oil
Rice & Aromatics
- 2 cups aged basmati rice (soaked 30 minutes)
- 1 bay leaf
- 2–3 cloves
- 1 cardamom
- ½ teaspoon salt
- 1 tablespoon ghee
Special Touches (You might want to try these)
- A few saffron strands soaked in 2 tablespoons warm milk
- 1 tablespoon kewra water (or rose water)
- Extra fried onions to garnish
- Mint and coriander leaves to layer

Step 1: Get the Chicken Ready
Here’s where the flavor magic starts. The more time you marinate the better your chicken will taste and the softer it will get.
🧂 Mix the Marinade
In a big mixing bowl, put:
- Yogurt, ginger-garlic paste chili powder, turmeric, biryani masala, salt, lemon juice chopped mint, coriander, and fried onions. Stir well until it’s smooth and smells good.
🍗 Put in the Chicken
Add the clean chicken pieces to this mixture. Cut small slits in the pieces to help the flavors soak in deep. Rub the marinade so it covers every piece.
Marination Time
- Minimum: 2–3 hours
- Ideal: Let it sit overnight in the fridge
This step softens muscle fibers, keeps moisture in, and makes the chicken tender after slow cooking.

Step 2: Get the Rice Ready
Rinsing
Rinse aged basmati rice 3–4 times until you see clear water. This gets rid of starch and stops the rice from sticking.
Soaking
Soak the rice for 20–30 minutes. This helps the grains cook and grow longer.
Boiling
In a big pot, bring water to a rapid boil. Add:
- Salt (the water should have a slight salty taste)
- 1 bay leaf
- 2 cardamoms
- 2–3 cloves
- ½ teaspoon shahi jeera
Put the soaked rice in and cook on high heat until it reaches 80–90% doneness. To check, take a single grain and press it between your fingers — it should break but not turn to mush.
Right away, drain and spread the rice on a tray. This halts the cooking and keeps the grains from sticking together.

Step 3: Make the Fried Onions (Birista)
Great birista gives your biryani its sweet, caramel-like flavor.
- Cut 2 medium onions into very thin slices.
- Pour oil or ghee into a pan and cook them in small batches.
- Keep stirring until they turn golden brown.
- Put them on paper towels to soak up extra oil.
Tip: You can keep leftover fried onions in a sealed container for up to 1 month.
Step 4: Create the Chicken Masala Base
This step builds the core taste of your biryani.
- Heat 2 tablespoons ghee in a deep pan.
- Add whole spices — cardamom, cloves, cinnamon, bay leaf shahi jeera — and let them sizzle.
- Add the marinated chicken (along with all the marinade).
- Cook on medium heat for 3–5 minutes until the chicken turns white.
- Add 1 tablespoon biryani masala and a pinch of salt if needed.
- Cover and cook on low heat until oil separates from the masala and the chicken becomes tender.
Turn off the flame when done. The gravy should be thick, not watery.

Step 5: Layer the Biryani
Now comes the exciting part — creating layers to trap aroma and flavor.
Step-by-step layering:
- Grease your handi or heavy-bottomed pot with ghee.
- First layer: Spread half of the chicken masala on the bottom.
- Second layer: Add half the cooked rice on top.
- Sprinkle: A few spoons of saffron milk fried onions, mint, and coriander.
- Repeat: Add remaining chicken then rice, and finish with saffron milk and ghee drizzle.
Pro Tip: Don’t press the layers — keep them loose to allow steam to circulate.

Step 6: Dum Cooking (Steam Perfection)
The last and most important step — “Dum” — gives your biryani its special smell and light texture.
Stove Method
- Close the pot with dough or aluminum foil.
- Put the lid on tight and set the pot on a tawa (griddle).
- Cook on medium heat for 10 minutes then low heat for 20 minutes.
This indirect heat makes sure everything cooks without burning the bottom layer.
Oven Method
Heat your oven to 175°C (350°F). Place the sealed biryani pot in the oven and cook for 30–35 minutes.
Resting Time
Once dum cooking ends, turn off the heat and allow the biryani to sit for 15–20 minutes. This pause lets the steam settle allowing the rice to soak up all the flavors .

Step 7: The Big Reveal
Lift the lid with care — the moment you’ve waited for! A wave of saffron scent will hit you, along with the sight of cooked rice.
Apply a flat spatula to scoop from the bottom lifting layers of rice and chicken together. Avoid excessive mixing; biryani’s appeal lies in its distinct layers.

Step 8: Serve and Enjoy
Serving Suggestions
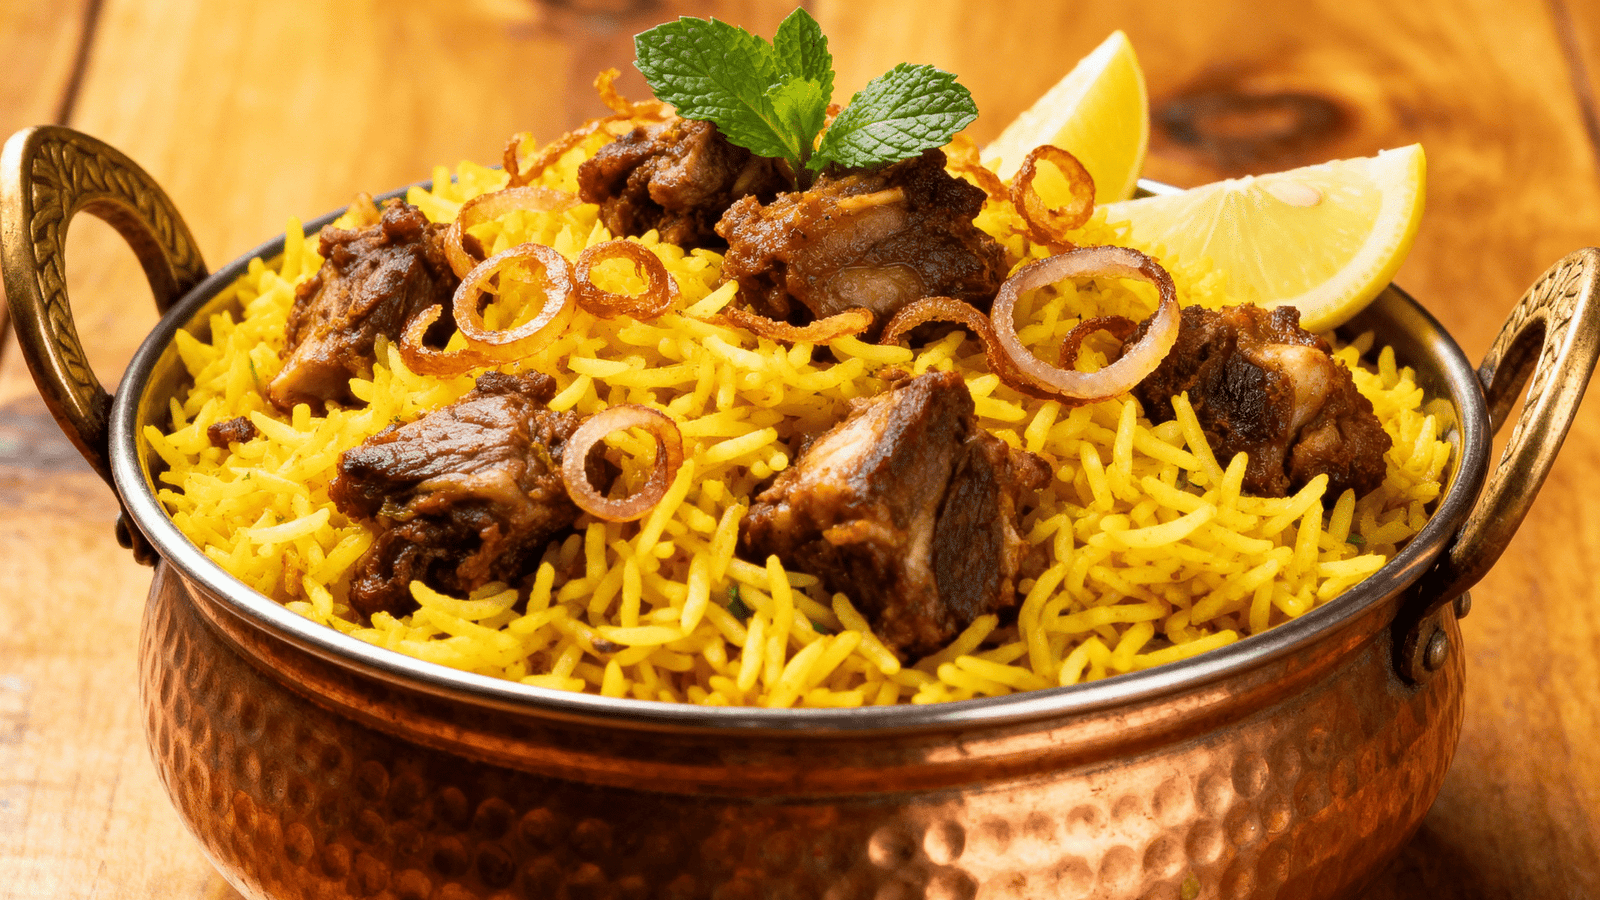
Accompany your Chicken Dum Biryani with:
- Cucumber Raita (curd + cucumber + mint)
- Mirchi Ka Salan (Hyderabadi chili curry)
- Boiled eggs, onion rings, or lemon wedges
Add more fried onions, mint leaves, and a drizzle of ghee as garnish.

How to Make the Best Chicken Dum Biryani
Get Your Timing Right
Don’t cook your rice too long or marinate your chicken too little. Let the chicken sit in marinade overnight and cook the rice until it’s almost done.
Pick the Perfect Rice
Go for aged basmati rice — check if the package says “aged 1 year” or “extra-long grain.”
Always Use Ghee
Ghee gives your biryani that fancy restaurant smell and rich flavor.
Fresh Spices Make a Difference
Make your own garam masala or buy new packs — old spices don’t taste as good.
Wait Before You Eat
Let the biryani sit after dum. This allows flavors to blend well.
Nutritional Breakdown (Per Serving)
- Calories: 825 kcal
- Protein: 36g
- Fat: 35g
- Carbohydrates: 87g
FAQs
Q1. What sets Hyderabadi Biryani apart? Hyderabadi biryani uses the dum (steam) method. Raw marinated chicken and rice cook together, which creates deep layered flavors.
Q2. Can I make biryani without saffron? Yes! You can use turmeric-infused warm milk or a pinch of food-grade yellow color instead of saffron milk.
Q3. How do I avoid soggy rice? Cook the rice to 80–90% completion before you layer it and drain it right after it boils.
Q4. Can I use boneless chicken? Yes, but bone-in pieces add more flavor. If you use boneless, cook it for a bit less time.
Q5. How long can I store biryani? Keep leftover biryani in the fridge for up to 2 days. When you reheat it in a microwave, add a splash of water or ghee.
Final Thoughts
Creating restaurant-quality Chicken Dum Biryani at home is doable — you just need to be patient and put your heart into it. Every step, from marinating to dum cooking, adds depth that turns this meal into something special.
As you keep making it, you’ll get better at nailing the perfect rice texture juicy chicken, and that mouthwatering biryani smell. Dish it up with pride, and you’ll see everyone at your table fall for your cooking skills.

2 thoughts on “Chicken Dum Biryani Recipe | Authentic Hyderabadi Restaurant-Style Biryani Step-by-Step 1”